Showing posts with label craftiness. Show all posts

Thursday, February 9, 2012

B.F.F. Valentine Heart T-Shirts

 After a long day of coyote hunting, I went to bed & dreamed up this project.
(I love how randomly ideas sometimes hit me.)
This project reminds me of those "Best Friends" necklaces, where you keep one half of the heart & your best pal gets the other half.
In this instance, they are "B.S.F." shirts. (Best Sisters Forever)
I purchased 2 inexpensive Hanes t-shirts on clearance at my local Dollar & Variety store. And then I scrounged through my stash of felt & found some red pieces to use for the hearts.
If you have a new shirt, be sure to pre-wash it before you begin this project.

I pinned a piece of felt to the shirts & used chalk to outline the correct sized heart shape.

You can stitch the hearts directly to the t-shirts, but I like to use Heat-n-Bond AND stitch the hearts on.

Cut your heart out, leaving a space all around the edge. Then, cut out a piece of Heat-n-Bond a tiny bit smaller than the felt piece.

Iron the Heat-n-Bond onto your felt according to the directions.

Now cut out your heart pieces along the chalk lines.

Peel off the Heat-n-Bond paper backing.

Place the hearts onto the shirt & place a cloth over the top. Then, iron on the hearts.

Machine-stitch the hearts onto the shirt.

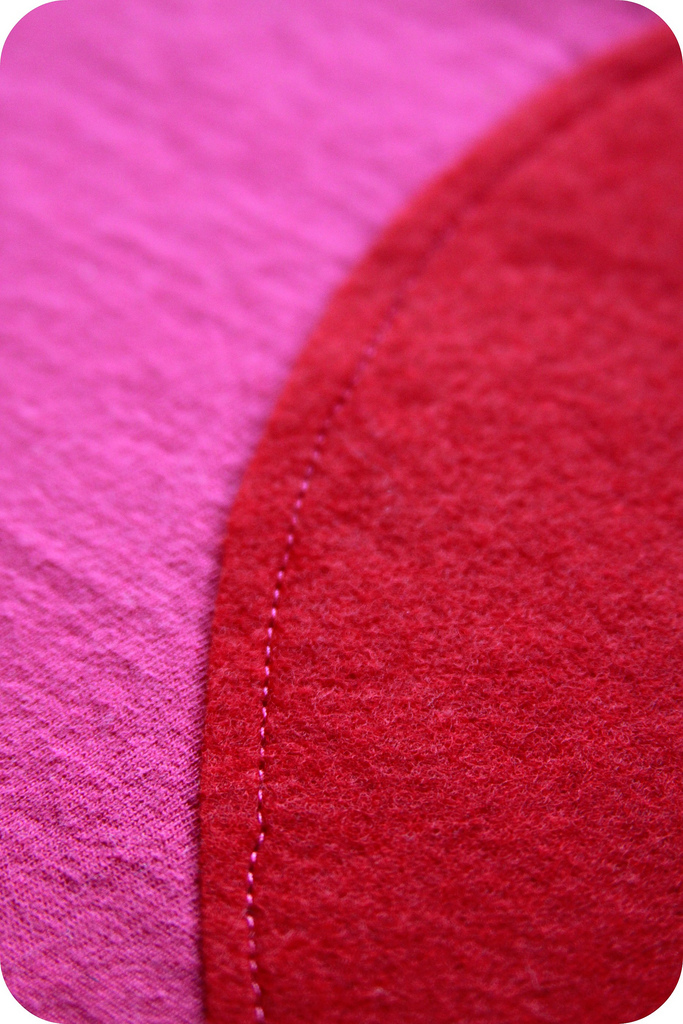
And that's it!


Tuesday, February 7, 2012

Plastic Pom-Pom Pillow

I have been DYING to use clear vinyl in a crafty project. Is that wacky or what?? These pillows came about as a result of yesterday's Lorax Blog Tour. (I was inspired by the town of Thneedville in the The Lorax movie, where most everything is made of plastic. And the pom-poms reminded me of the whimsical pom-pom-like truffula trees.) These pillows didn't quite fit the criteria that the media peeps were looking for.
So, now I get to share my fantastically plastic project with you!

These pillows stitch up SO quickly because there is no hand-stitching involved & you don't have to flip them inside out.

SUPPLIES:
•Clear vinyl (I used 16 gauge)
•Thread in your color of choice
•Sewing machine
•dry erase marker
•Pom-Poms
•Tape measure or ruler
 I purchased pom-poms from amazon.com & etsy.com. I could get a bulk amount for less than I could find at local retail stores. I took the white pom-poms & added them to the Golden Yellow RIT dye bath I used for the faux fur mustache in the The Lorax Mustache Pillow project.

TIP: the pom-poms took a while to dry. After dyeing, I first rinsed the pom-poms out, squeezed the bahookies out of them, then I used paper towels to squeeze again. Then I laid them out to dry for a day. Then, when they were almost dry, I tossed them in the dryer to finally finish drying. I even took the light pink pom-poms & added them to the dye. It tinted them a slight peachy-pink color.
You can't tell in the photo very well, but they are a slightly different color. I don't know about you, but I find it kind of fun that I can custom dye pom-poms. You can, of course, use whatever color pom-poms you want. Dyeing is optional.


I decided to make a pillow that was 16" squared. I took my tape measure & dry erase marker & drew a 2" border around one of the clear vinyl squares. I'll ultimately end up with a center square of 12" full of pom-poms & a 2" border all the way around.

Stitch around three sides of the vinyl, using the dry erase lines as your guides. I used a longer stitch setting on my sewing machine.
Fill your plastic pouch with pom-poms. I loved choosing which color combos to mix.


Now stitch up the last side on your sewing machine. This is a bit tricky. You have to hold one end up with one hand & sort of pull the pillow along as the machine sews, with the other hand. You might want to play around with a practice piece of vinyl before stitching on your actual pillow.

If you want, you can create a scalloped edge. I created one pillow with a straight edge & one without. Just use your dry erase marker to draw on the decorative edging & cut around your pillow. It doesn't have to be perfect.

Here's my other pillow, sitting next to the Lorax mustache pillow from yesterday.
These look really cute propped on my girls' beds, or they make a funky & silly accessory for your couch.
If they get dirty, you can simply wipe them with a damp cloth.
Happy plastic crafting!
(More vinyl projects coming soon!!)

Monday, February 6, 2012

Get Creative With The Lorax: Vinyl Mustache Pillow


I was asked to be part of a blog tour to help promote Universal Pictures upcoming movie: Dr. Seuss' The Lorax. (Eep! I'm so excited!)
The Lorax lands in theatres on March 2nd. For a preview, downloads & games, click HERE.
 Visit The Lorax facebook page HERE.

Today I will show you how to make a hip mod Lorax Mustache pillow.
 (It's super easy!)
SUPPLIES:
•Orange upholstery vinyl (fleece or felt would work fine too)
•Faux fur (preferrably in yellow, but I used white)
•Rit dye in "golden yellow" (don't need this if you found yellow faux fur)
•Stuffing
•Mustache template (Click HERE for the link to download)
•Scissors
•Pins
•Orange & yellow thread
•Needle
•Sewing machine

I purchased orange vinyl upholstery material (with a soft backing) & cut out 2 square pieces. You can make them whatever size you want. Mine were 12 inches & I used a 1/2 inch seam allowance when sewing on the machine.
Next, I searched high & low for the perfect yellow faux fur material to use for the mustache. My local shop only had white, so I died it yellow using some Golden Yellow RIT dye. I was uncertain whether it would work or not, but I gave it a go. My first test piece came out the perfect color. But my 2nd batch came out much lighter. Still, it'll work. (I think I dyed too much of the material at once. I dyed the whole 1/4 yard I purchased, when I should have just cut the size I needed & dyed that.)

TIP: I found that it shrunk a tiny bit. I used the stovetop method. (Directions are found inside the RIT dye box.) So, just keep that in mind when you're figuring out how much material you'll need for the mustache.
Download the mustache template (listed in the SUPPLIES above) & cut that out. It's actually a pumpkin carving template. Pin the template to your faux fur, trace, &  cut out.

The faux fur will be kinda messy, with hairs falling off after you cut. You may need to comb it out to get all the loose shedding bits off.

Pin the mustache to the right side of your fabric & carefully sew around the edges on the machine, using your yellow thread.

Place right sides of your orange pillow pieces together & pin in place. Starting at the bottom, sew around all 4 sides---leaving about a 4 inch gap unsewn.

Next, snip the corners of the pillow. This will help the corners of the pillow to have a nice pointy shape when you flip the pillow inside-out. Which is what you'll do next.
After you've flipped the pillow inside-out, poke a chopstick or blunt knitting needles or something poky yet unsharp into the corners to get them all nice & corner-ish. Stuff the pillow to your desired puffy-ness & handstitch the 4 inch gap on the bottom of the pillow with the orange thread & needle.

That's it!
And now you have a funky little Lorax 'stache accessory!

The girls & I are SO ANXIOUS to see the movie.
We can't wait!!!

I'm stop #5 of TEN stops on the "Get Creative With The Lorax" BLOG TOUR.
In case you missed it...
Feb. 1: Temporary Tattoos over at Today's Creative Blog
Feb. 2: Recycled Puppet Theater over at Katydid & Kid
Feb. 3: Truffula Tree Pencils over at Zakka Life
Feb. 6: The Lorax Game over at Smashed Peas & Carrots
Feb. 7: Mustache Pillow right here at WhiMSy love
Feb. 8: Garden Planter over at Little Birdie Secrets
Feb. 9: Yarn Pom-Poms on Twigs over at Art Projects for Kids
Feb. 10: Stenciled T-Shirt over at Dabbled
Feb. 13: "Unless" Garden Stones over at Prudent Baby
Feb. 14: Lorax Themed Party Table over at Tonya Staab
(I'll post direct links as they are published!)


Disclosure:  This post was written as part of theGet Creative With The Lorax Blog Tour in support of Universal Pictures DR. SEUSS’ THE LORAX that is in theaters on March 2.  I was compensated.