Showing posts with label photography. Show all posts

Tuesday, August 12, 2014

DIY: Repetitive Photo Play

 Who knew that orange & purple carrots harvested from my container garden in the backyard could look so stinkin' cool? (The girls & I started those from seed & we can't stop thinking how magical we are that we MADE food!)
I took a picture of  my happy little root veggies & then cropped it square. The more I stared at this picture... 

 ...the more I thought it would be interesting in some sort of  pattern.
I simply used the PicMonkey photo editor to create that funky collage.

You see, I don't have any experience with PhotoShop or any elaborate photo editing programs. I am all about "simple to use" & "easy to understand".

When you hear the word "repetitive", you might think "boring", or "monotonous". But that's not what happened when I added the same photo 25 times in a collage. A simple rotation left or right, & the foodie masterpiece was complete.

I'll show you how to make your own collage, but first here are more food photos I snapped along with their collage creations...


I used what I had in my pantry & fridge. Even leftover pizza! And I realized two things: 
1. I definitely need to do some grocery shopping. 
2. I can't believe how many shapes of pretzels are in my cupboards. Gah!

Here's the quick how-to if you want to make your own collage...
(If necessary, click on each picture for a larger view.)

1. Go to picmonkey.com & choose the Collage option.


2. Click the Layouts symbol. And then choose Square Deal. 


3. In the Square Deal tab, choose the layout with 25 squares.


4. Now click Auto Fill to fill each square. Click it 25 times.


5. Hover over whichever image you want to rotate. You'll see an Edit button appear. Click on that.


6. An Edit Imaging box will pop up. From here, you can rotate left, rotate right, or even flip your image left or right. Continue clicking on the images you want to rotate &/or flip.


7. Click the Background symbol – it looks like a paint palette. You can adjust the spacing between the pictures. Set it to "zero" if you don't want any space between the pictures, as shown in this photo. In some instances I like the look of a thin white line. (You can change the color of the lines too.)

Some of the images remind me of quilts. Some of them have a kaleidoscope-ish flavor. 

Anyway, if you make your own collages, please feel free to share by leaving a link in the comments.

Ah, sweet repetition...
*swoon*

Saturday, June 8, 2013

Pinhole Camera Adventures

Earlier this spring, my friend Susan & I made a pinhole camera. It's something I've always wanted to do. I found a PDF of a pinhole camera HERE. It's the Rubikon 2, by author Jaroslav Jurica.
And, I confess, the first time we pieced this camera together it was too small. The film would not fit inside. 
When printing the PDF be sure to set your printer setting to ledger size 11x17 with no scaling. 

I can say with confidence that making this little camera TWICE meant that, by the second time around, we were pros. ha!

We were bummed to not find black & white film readily available in town. I wonder if I could find it more easily in a bigger-type city? I'm betting I could. Lotsa times the black & white look hides flaws. And it looks more artsy besides. But we had to go with color.

We started putting together the origami-like camera later in the day, so we didn't have a lot of options for shots in the fabulous natural outdoor light. (We only had one day together!) We snapped tons of photos in my house, & then headed to Starbucks for some late-night caffeine & a few more photo ops. 

Sometimes we had to let the light filter through the pinhole for just a few seconds. Other times, like the shot of the two coffee cups above, we left the pinhole open for a length of exposure of 7 MINUTES!! The next picture shows the results of that shot. 


We also set the camera on a shelf in Starbucks.

This is the photo we got, with a length of exposure at 2 minutes:


Here are some other photos we took:

 This photo was a mistake, where we took a picture, forgot to wind the film, & then took another photo. And the extra picture on the right was because we didn't wind the film correctly. I found that I rather liked all the "mistake" photos though.

This is another example of taking a few photos, & forgetting to wind between shots.

The length of exposure was 2 minutes for the piano keys. 

The length of exposure for the mime toast (from a Vine I made) was 6 seconds.

We held the camera on the car dashboard, for an exposure of 2 minutes, while driving home from the coffee shop.
When Susan & I got the film back from the lab, we were so impressed with ourselves. "We made pictures from paper & a hole? WE. ARE. AWESOME."

Playing with the pinhole camera gave me lots of confidence to keep at it. I can't wait to try making different pinhole cameras, & aiming for a more focused, & less blurry, photo. There are tons of tutorials online to show you how to make a pinhole camera. A pinhole camera can be made out of practically anything. All you need is a "box" that is dark & does not absorb light, something to project your image onto, & a tiny hole. I've seen so many creative pinholes out there. (One even made out of a coconut AND a Mr. Potato Head!) I did a search for "pinhole cameras" on flickr, & found THIS. Browse through the photostream for some inspiration. There are even groups on flickr, dedicated to pinhole cameras & pinhole photography.

Click HERE for a wikipedia link about the pinhole camera.


Sunday, December 18, 2011

My newest preoccupation

 I absolutely LOVE photographing wrestling!
I spent the first part of yesterday with my friend Susan at the Bridgeport Invite, sitting next to the mat, our cameras in hand, snapping away for the newspaper.
I love all the crazy angles & the faces. (Not so much the stinky boy smell. But it wasn't bad that day.)


♥

Tuesday, September 7, 2010

Macro Makes Me Merry!

Oh my gosh. I had the most insane day laboring yesterday on Labor Day. I was planning on popping into work for just a couple hours, but ended up staying for 6. And then I had to be back later in the evening for the infamous Monday night shift. (That would be the 8 o'clock at night until who-knows-what-o-clock in the morning shift.) That's the life of a newspaper. I love it though! Except, it's pretty brutal getting off at 3:15 in the morning, sleeping for 3 hours, & then having to wakey-wakey to help the children get ready for school & then drive them there. Triple "Ugh!".
Tuesdays are not my best days.
Before my napping hour commenced though, I pulled out my camera for some photo fun.
I played around with photojojo's latest happy camera trick, which involves a macro lens.
But, alas! I have no macro lens. (insert sad face...) No problemo! You don't NEED a macro lens to take macro photos. (insert extremely exuberant, animated & chipper face!) The trick actually involves removing my current lens & flipping it over. Everything appears macro-riffic!
I even used some lenses from a 35mm Olympus that my mom recently gave me.
Sweet fun!!!
Here is the extent of the macro power I get on my current camera:


But here is the detail I get when I try the macro flip-trick:


Isn't that the coolest? Here are some other random pics I took:

My mascara-messy eyelashes after 3 hours of sleep for the night..

Tiny leaf of a sunflower plant.


The detail on my machine-stitched WhiMSy love envelopes.

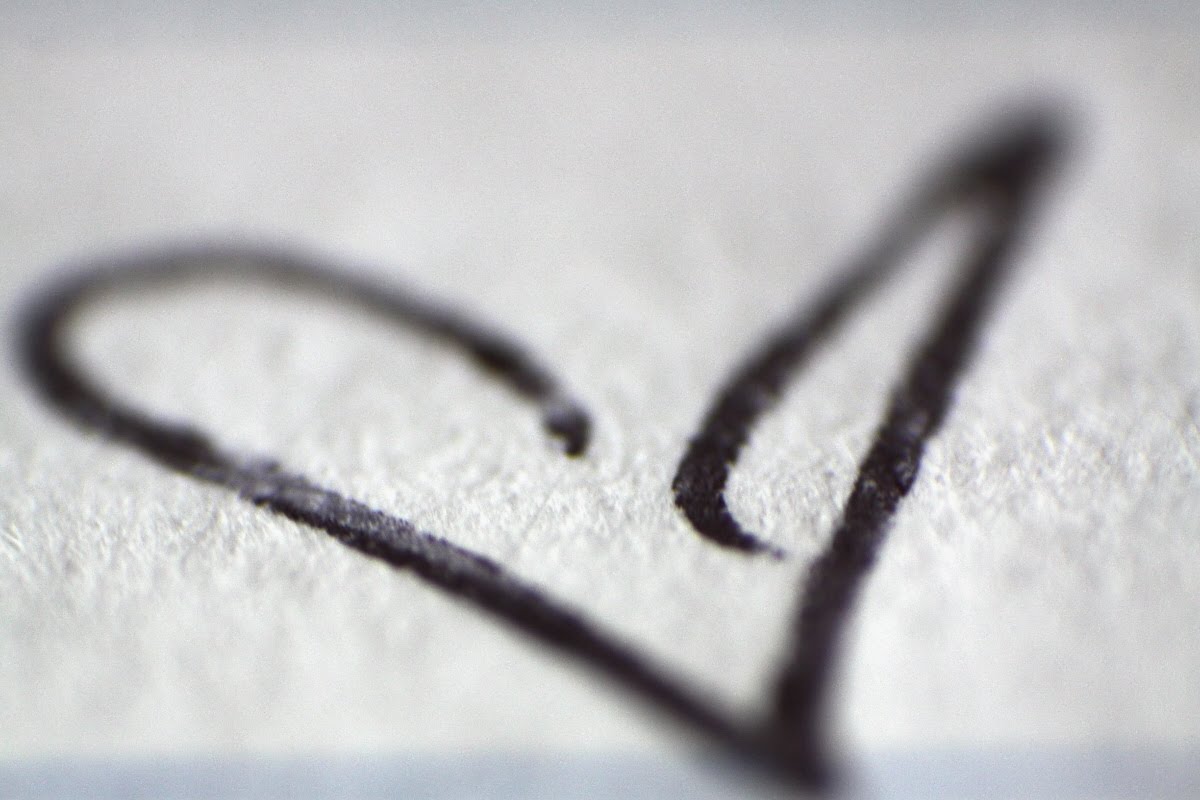
Ink pen heart.
I LOVE photojojo. If you're a camera/photography/picture freak like me--you should totally sign up for their free newsletters. Lots of neato stuff in your email-box, twice a week!
And for the instructions on how to take your own macro lens-less macro photos, cick HERE.