Showing posts with label recycle. Show all posts

Tuesday, May 28, 2013

DIY: Mini Memory Matching Game

As I'm packing up boxes, getting ready for the upcoming move (in 3 weeks!), it's giving me a chance to downsize/purge/donate/trash a lot of things. I'd like to think that in these last 3 1/2 years, through 3 moves, the amount of things & stuff I own has decreased significantly.

Anyway, in all my shuffling about through cupboards & shelves & drawers, I came across 3 Scrabble games. Three! I once used the tiles for crafty ring making in the past.
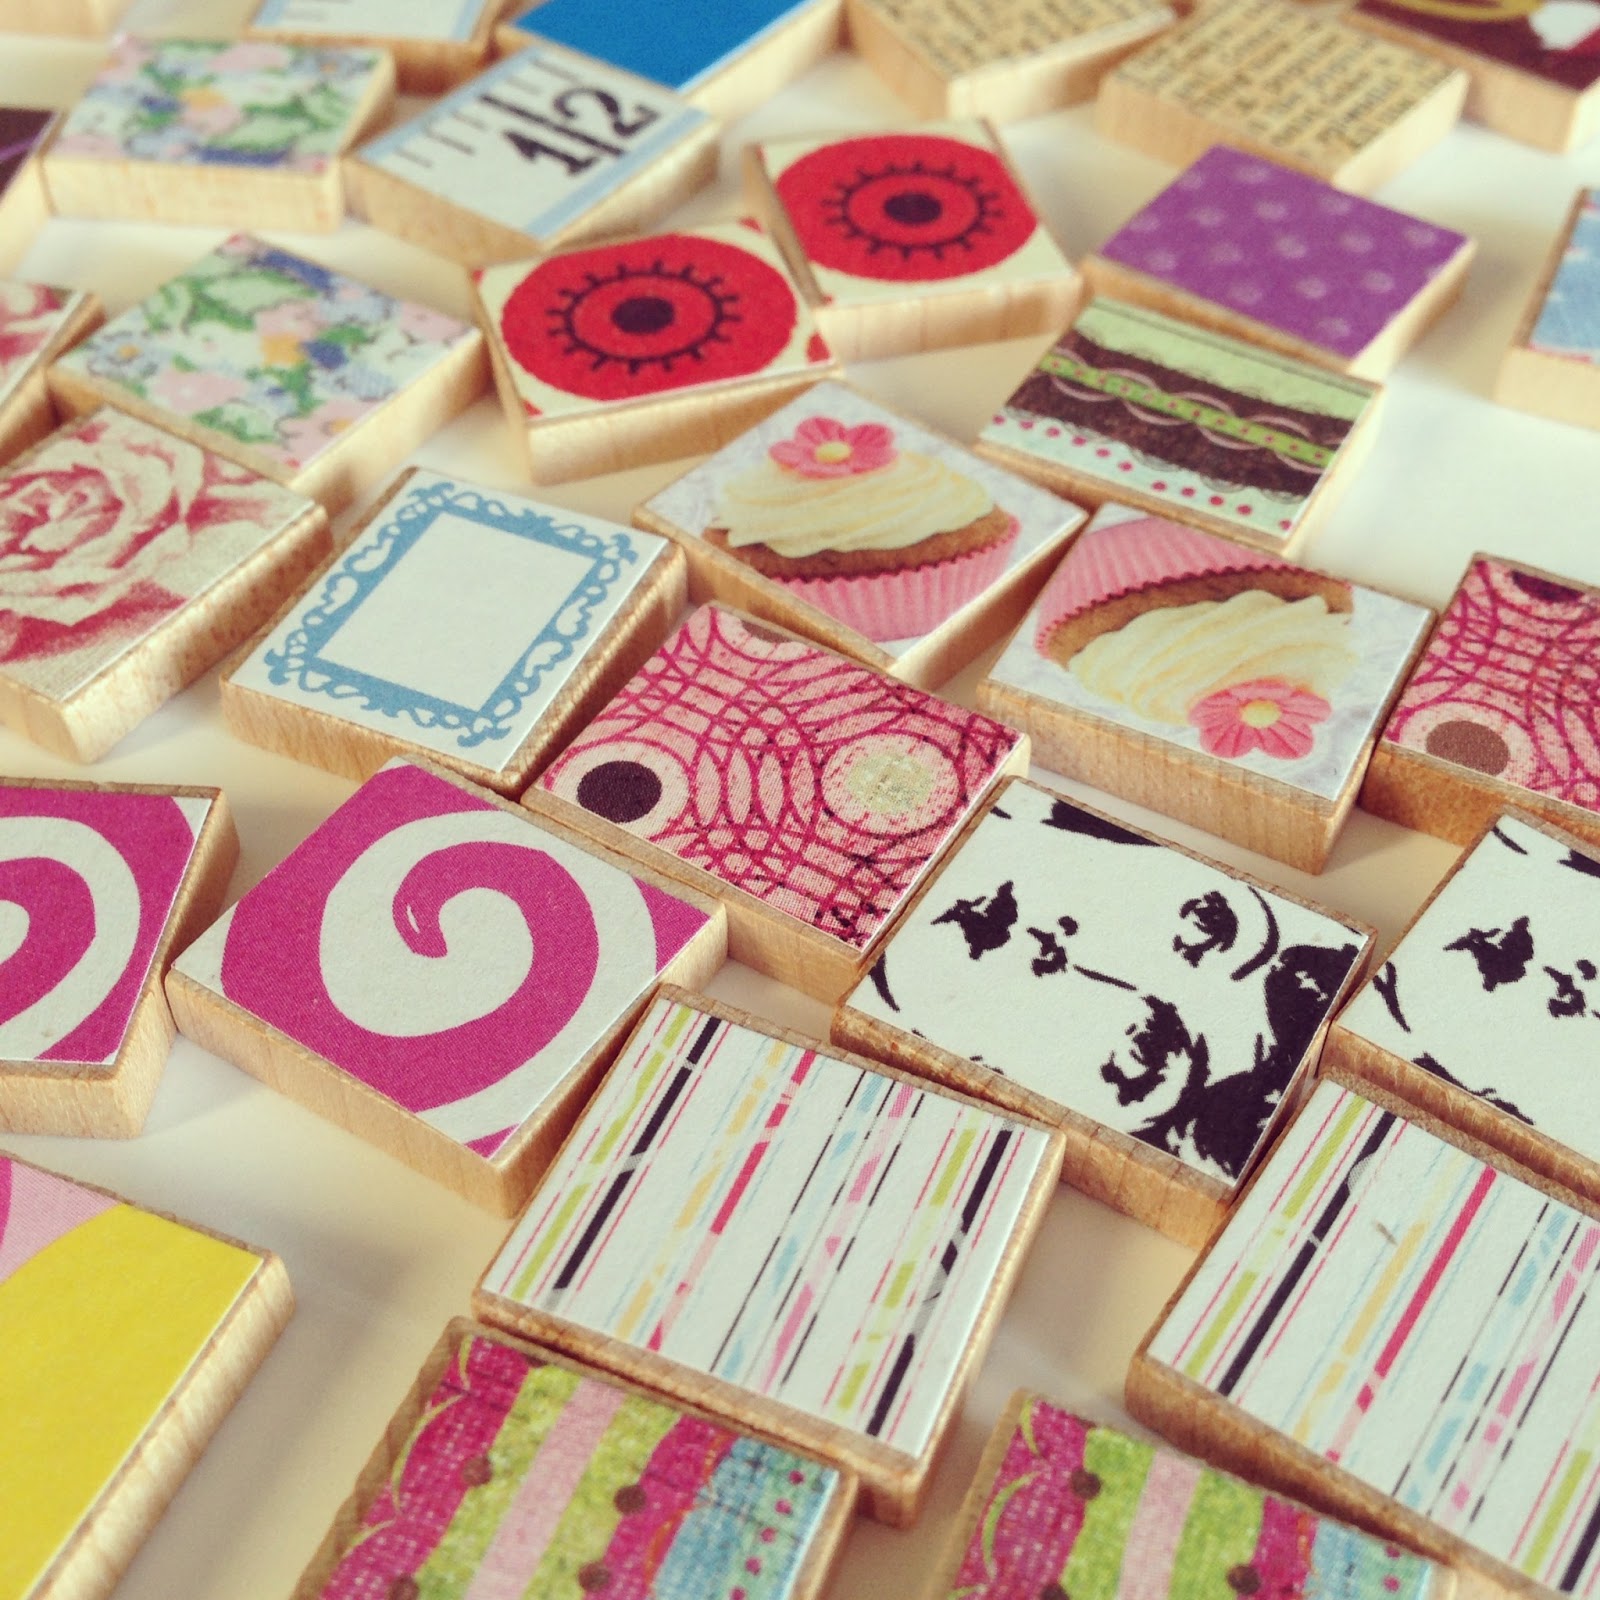
I was able to piece together 2 complete games--one for donation & one to keep. With the leftover tiles I decided to make an easy Matching Game. Perfect for travel. More specifically, perfect for airplane rides or long 3+ hour layovers in the Denver airport. Which will be the story of Zoey, Pazely & I in a few weeks.
This is one of the girls & my favorite games to play!

To make your own, you'll need:
•scrabble tiles (The more tiles you have, the more challenging the game. I ended up with 23 pair of tiles.)
•pencil
•ruler
•scissors (or paper cutter)
•Mod Podge
•small paint brush
•scrapbook paper (Find as many different styles/patterns of scrapbook papers as you have pairs of tiles.)

First you'll want to cut your papers. I cut the paper rectangles small enough so that they fit just inside the tile, without any extra stuff hanging off the edges. In fact, I measured & cut out one piece of paper & then used that paper as a template to cut the rest. 

Apply Mod Podge to the back of the paper. 
Place the paper piece onto the letter side of the tile & press firmly in place, being sure to get the edges secure.

Once that is dry, apply one or two more coats of Mod Podge.

When THAT is dry, play away!

Thursday, April 22, 2010

3 Projects. From 1 Magazine.

In honor of Earth Day & the subject of recycling, here are 3 easy & fun projects I think you'll enjoy!

1. Magazine Brooch.
Simply cut about 15-20 organic circular shapes ("organic" means it doesn't have to be perfect) from a magazine & crumple them up. (This is to give it extra thickness.) You can get fancy with the top cirlce shape by creating a fan-shape with a strip of paper & connecting the ends. Stack your circle pieces & staple together, along with ribbons hanging at desired lengths on the back. Glue buttons in the center. Glue a pin on the back. Wear with recycled pride!!


2. Gift Bows.
I got the tutorial from How About Orange. LOVE it! I will never buy a gift bow again.


3. Candle Props.
Tear out pages from a magazine. Roll into long tubes, using a glue stick to finish. Once you've made lots & lots, cut tubes to desired length. I used about 2" lengths to create these tea-light props. But you can use any length you want. Use tacky glue to hold them all together. A glue gun works too.
I also created a GIANT one (inspired by an Anthropolgie store display I saw about 10 years ago) that serves as some funky decor. (I even used it once to hold a small TV!)
Use your imagination & come up with some fun ways to use them!


Here's a peek at the last Crafty Night in April, where I taught all 3 of these projects.


Happy Earth Day!

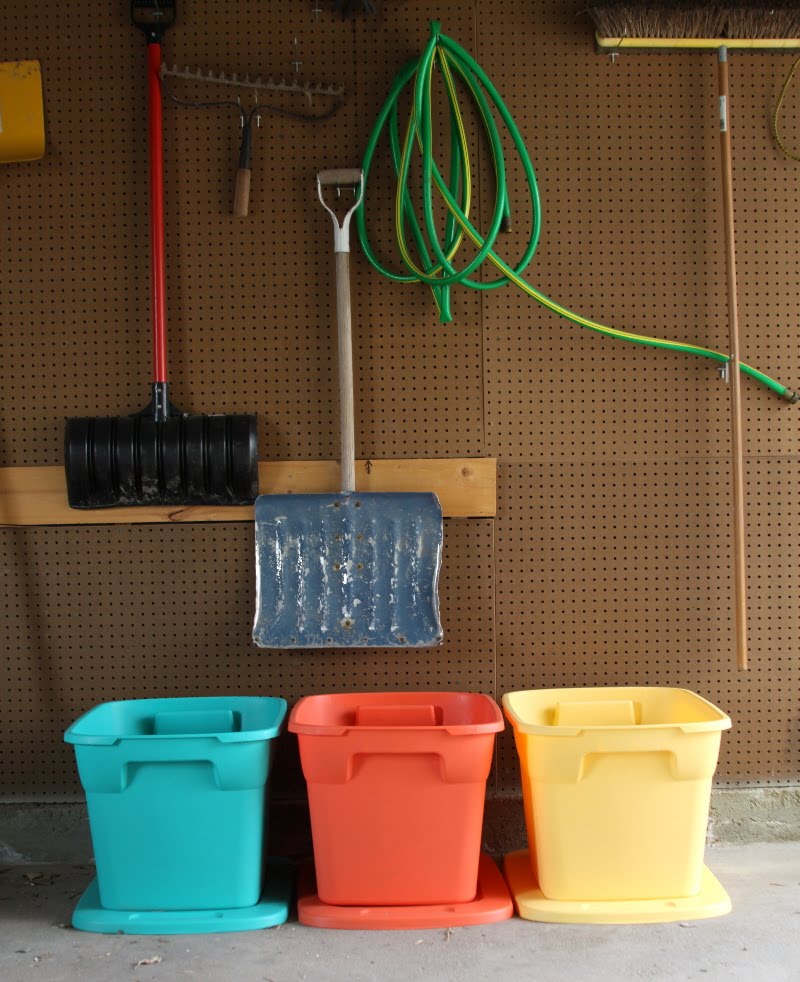
The girls & I have decided to start recycling. And what better inspiration than Earth Day? This is a new venture for us. We've already made the first step: buying some bins to keep in the garage to separate our materials. Pop cans. Newspaper. Plastic. (Less than $5 each at Walmart!)  In less than 2 weeks the "plastic" bin is half full. And we've got plans to make our first trip to the local library this week & borrow books on the subject.

{Later this evening I'll reveal the recycled projects I taught at this month's Crafty Night--made from magazines.}