
Here's PART 2 of the piñata making!
(Click HERE if you missed Part 1.)
(Click HERE if you missed Part 1.)

I used crepe paper streamers to decorate the ice cream cone. And there are SO many ways you can attach the tissue paper/crepe paper. My techniques are just 2 of MANY! I started at the bottom, with the brown "cone", & wrapped around & around, using good old fashioned Elmer's glue, building the streamers up as I went. I placed a line of glue about 1/2" above the last piece of streamer. I did this until I reached the base of the "ice cream" part. And I didn't pull really tight. I left them in loose waves as I went along.

Then, I realized that I hadn't cut the hole for all the candy to fit inside. So I did that. I used a knife & cut 3 slits, making a little door flap.

In go the sweets!

I also made two small holes at the top of the piñata, about 4 inches apart. I used 50 lb fishing line & doubled it up. But, this didn't work. Clumsy me tripped over the fishing line & it snapped. So, I'll be going to the hardware store in the morning & buying a small, but sturdy & thick, rope/twine/thing. And honestly, this part of piñata-making is always a struggle for me. Once I made a piñata &, after the first hit or two, it just ripped from the top because of the combiniation of weight & a lousy job (on my part) of properly attaching the hanging device. I have not mastered this step. But I'm using a new technique this time with the string/rope. I usually use wire. The piñata is SUPER heavy with all the candy inside too!

Ok, after all that is done, I used light pink streamers & glued them along the edge of the "ice cream" scoop--over the candy hole & everything! (In the picture the flap is not closed. But I closed it & glued the streamers right over the top.)

Next I started on the very outside edge & glued the streamers in a circular pattern, bunching it up as I went.
Do this on both sides.


I am tempted to get a styrafoam ball & put red tissue paper all over it for the "cherry" on top. But the cherry would sit right where the hanging apparatus goes. If I can find a way to adhere it really well, I may do that. You'll just have to wait & find out until after Pazely's birthday party. Hopefully I'll get better pics of the piñata then too!


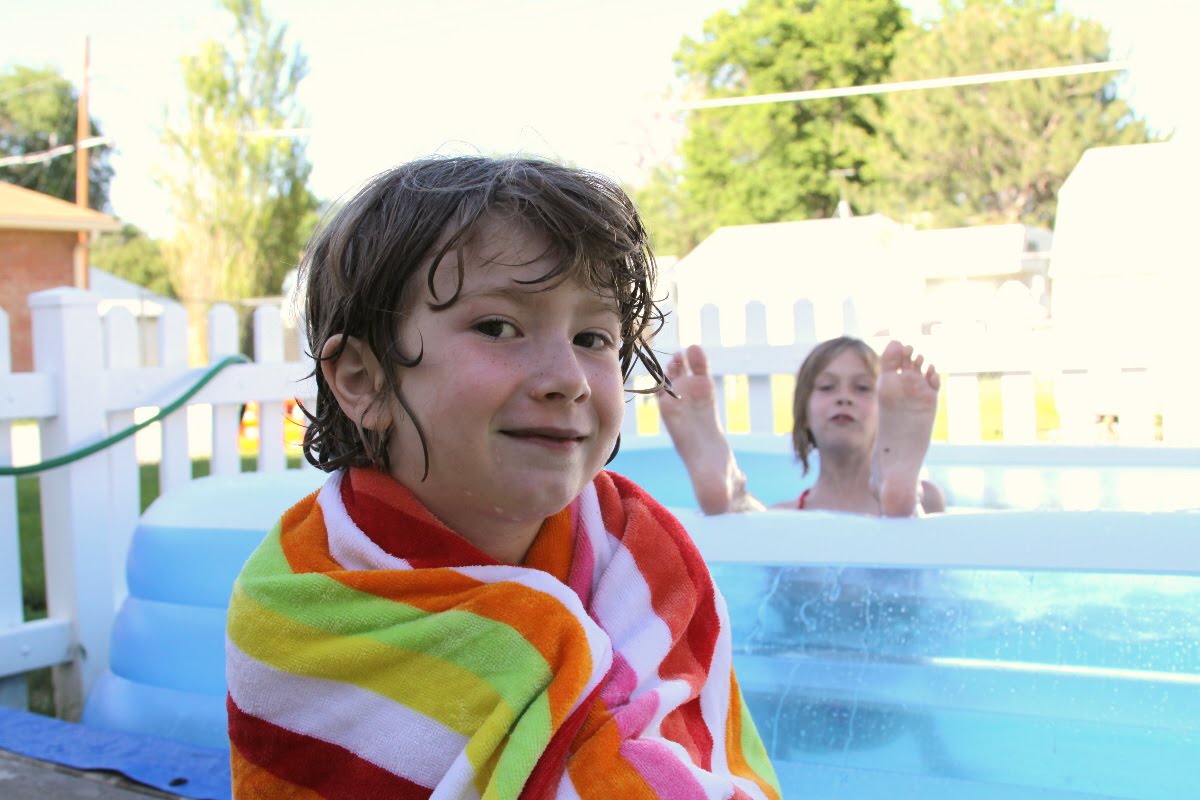
As far as our "Fun Thing" for the day, the girls didn't think this was it. They weren't really weren't into this portion of piñata-fun today. THEIR fun involved a new small backyard pool! With all the splashing, Mrs.Piñata Maker decided to eventually head indoors to finish crafting.
♥

What a beautiful pinata!! I love it!
ReplyDeleteyou really are the best mum EVA nik!!!
ReplyDeleteLooks good enough to eat!
ReplyDeleteThat turned out awesome! What a great idea! =)
ReplyDeletedang! You are so crafty! I tried your pinata method 1 but it did not work very good for me. I can't wait to try this one- this should solve the problems I was having with the other way!
ReplyDeleteThe cone is SO cute!
it is so beautiful. it does need a cherry on top. I can't wait to see what you used for that. I have made the balloon pinata too but I made it way too strong for us to break. if I do it again I will try the cardboard method.
ReplyDeleteThat is the most adorable pinata ever!!! I love it! I hope she has a wonderful party, can't wait to hear about it!
ReplyDeleteWow is lovely!
ReplyDeleteLOVE THIS!! What a pretty pinata, that will be such fun, whatching the lil'ones try and break it open. i would throw in some gift certificts to a locale ice cream store. When we did one my husband figured out how to make the tieing part a little easy. We took one of those hook and eye screws (it is a screw that has a small loop on it0 and screwed it in to where we wanted it to hang from. Put some of the E600 on it to secure a little better. Then run string threw it. We had over 15 kidoes wacking at it so it worked out good, and held up better than i thought it would. And you can put your cherry close by it too.
ReplyDeleteI think having a cupcake one to go right along with it would be so fun!!
Hope you all have a GREAT Crafty WEEK!!
How cute is that!! I love it
ReplyDelete