

Hello out there! Let me blow the dust off this 'ol blog & put some new happy on here!
In case you've wondered where I've been, & you're not following me on social media, & you're not subscribed to my new blog called Nikki from Nikiski, I'll tell you in one word exactly where I've been: Alaska. The fam & I moved up one week before Christmas to pastor at a church in Nikiski, on the Kenai Peninsula. And we are loving it here!
I am busy, busy, busy, which takes me away from a lot of the fun little craftty projects I used to do, & obviously this blog. I'm {slowly} learning to divide my days into ministry days or home improvement days or Nikki days, etc. And that's helping. I am trying to intentionally pause, every once in a while, to do something fun, something that brings a smile to my face.
And this Fairy Garden project is JUST that!
If you recall, the girls & I (who will be done with school in a week & a half!!) created a bunch of items for a non-existent fairy garden last summer, during our Summer School series. We had every intention of construction beginning on our fairy neighborhood during summer break. But that didn't happen.
{Almost} one year later...
I finally gathered up a couple containers this week & decided it was time to begin building.

Here's a view of the garden so far. I'm telling you, this is an addictive activity. Expansions are inevitable. If you let them, these fairies will put you in the poorhouse. For reals.
I rounded up some logs from around my yard to create little vignettes on either side of some stairs leading up to our front door. That one log covered in moss spoke to me the most. It practically yelled out to me in the wood pile. And I was like, "How long have you been sitting there? You are gorgeous. Come here, you pretty little thing." *gasp* I love me some moss. And it's, like, real moss. Not that craft store moss.
Oh! And those flowers? It is spring, but I have YET to see any flowers growing here in Alaska. I decided I needed some color therapy, so I made a beeline for a nearby garden center. Doing happy dances down the flowered aisles. And probably causing concern in any customers in my vicinity.
The flowers still need to be potted. I don't know where my pots are. Maybe still packed away? Did I get rid of them before I moved? I don't know. I DO know I'm afraid the neighborhood bunnies (& maybe the moose) will eat all the flowers. Hopefully the fairies have installed a good security system.

This first Fairy garden was made from a shallow drawer I've had lying around for YEARS. I once used it as a hanging shelf in Zoey's room when she was a baby. She's 14 now.
I found an awesome square flat of sedum at Home Depot that I cut into thin strips & lined around the border of this fairy garden, like a hedge.
(And, by the way, this post is super duper packed with pics. Like, overload. If your computer hasn't crashed by now, give yourself a high-5.)

The fairy house was made with a tin can + clay. The roof was made with foil covered in plaster paper-mache strips, then painted. Clay vines & leaves were added last.

The fairy garden guard dog was a gift. The mushrooms are from a craft store.

This sweet little guy was made by Pazely last year in 6th grade at school. It was glazed & fired.

The bistro set was purchased at Beaver Bark in Richland, WA, as were the tiny grey pebbles marking the walkway & courtyard. I lined these light grey pebbles with slightly bigger pebbles gathered from my yard. The clay book & cupcake were handmade by me.

The tiny hedgie & hedgehog house were handmade by Pazely & I. I'm pretty sure I found the idea for the house online. There are OODLES of fairy garden tutorials online. From garden plans to DIY accessories. We used clay in a lot of our crafty projects. Clay goes a long way!

That tire swing tho! Cutest ever. It was our first purchase toward the fairy garden. So long ago. From Beaver Bark, in Richland WA.
And those heart rocks were here at the house when we arrived. They fit in perfectly!
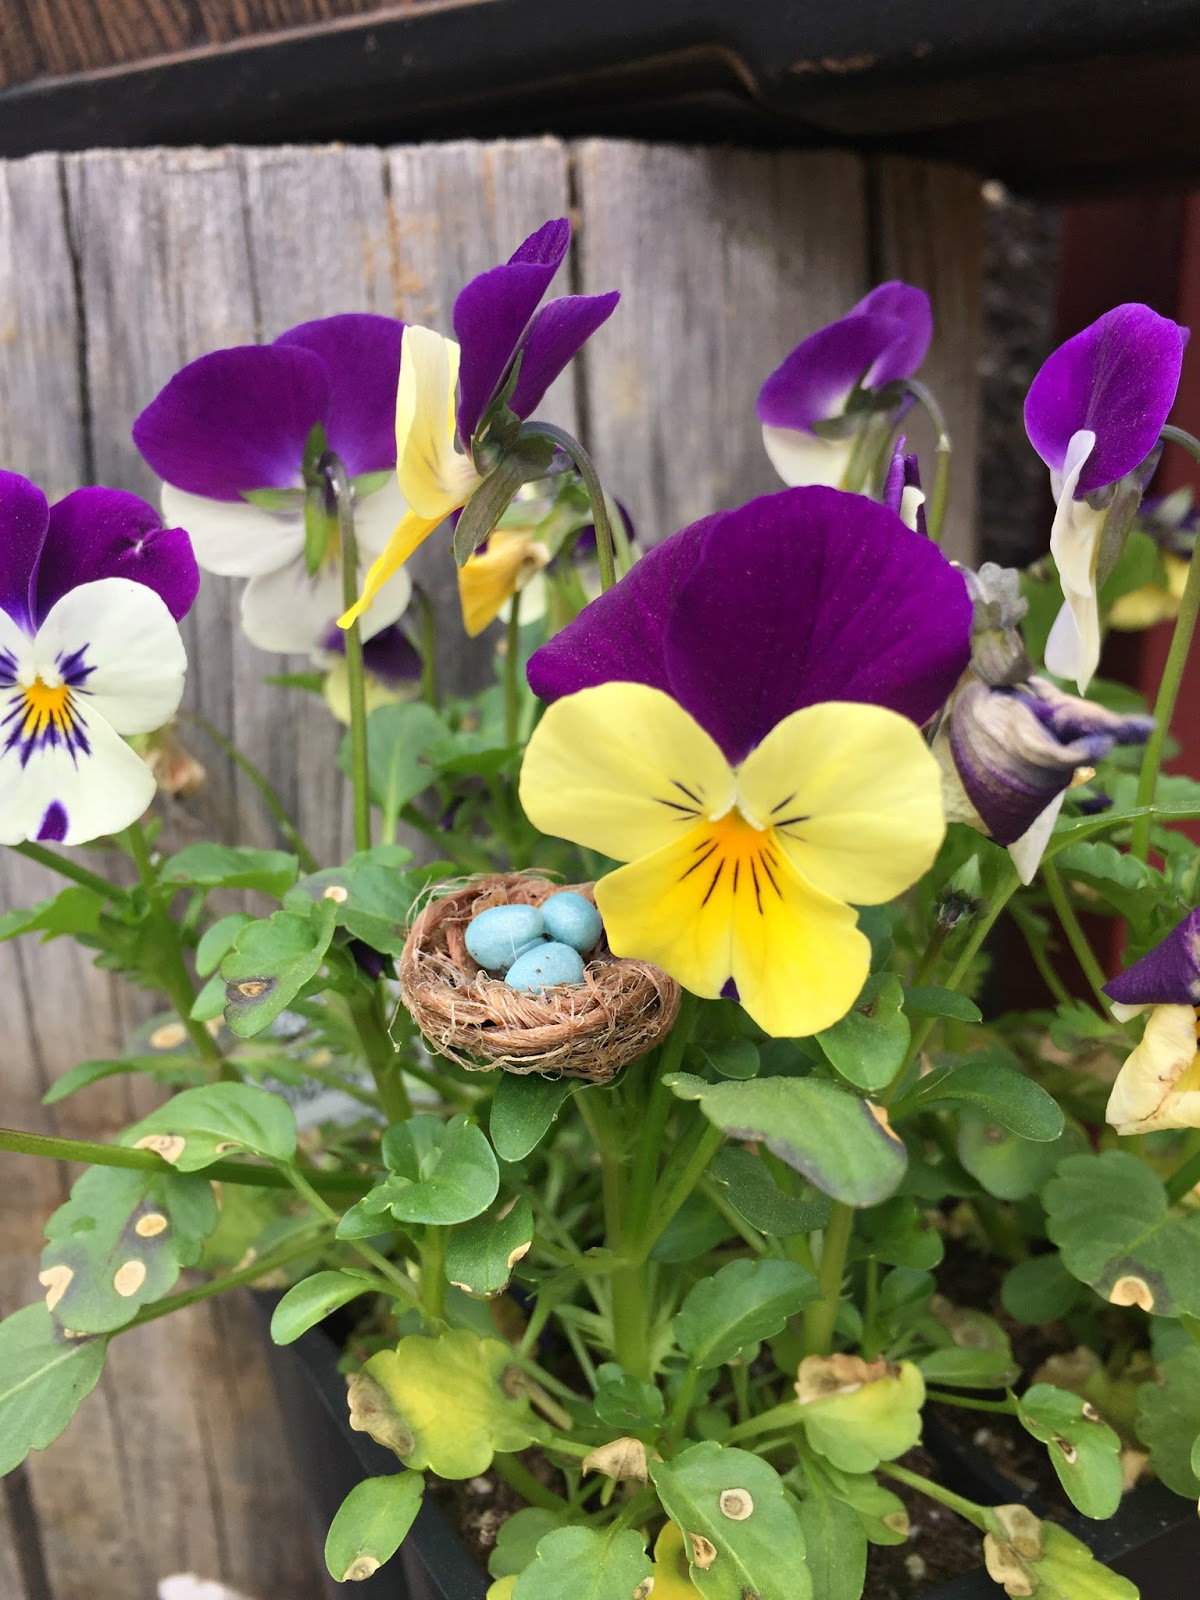
A twine nest (twine dipped in Mod Podge & then twisted into a nest shape) + itty bitty clay eggs.

The base of our second Fairy Garden is a plastic rectangular container I purchased from Home Depot. It was actually the final missing piece that sparked yesterday's decision to get this thing going. We still need to complete this garden. We think maybe a picnic table in the center? Or something else garden-y? We'll be on the lookout...

This tiny fairy house is my favorite. It's a small mason jar covered in clay. The roof comes on & off. I kept the lid, shaped a dome roof out of foil over it, covered the foil in clay, & baked it in the oven. I added a giant battery-operated tea light inside. It flickers & it is MAGIC!
Here's a quick 15-second video of the light in action while I was outside this morning listening to the birds & the quiet, enjoying some fresh air...


We've got bunnies in the basil. I LOVE how my fairy garden is also my herb garden.

We HAD to purchase the green hose for our "garden" theme. I think we got it at a craft store. Also, when shopping for accessories, don't forget about the dollhouse sections at craft & hobby stores.
The watering can was from Beaver Bark, in Richland WA. The clay pots were a gift. And, look! More birdie eggs!

Clay owl, handmade. The girls & I found a tutorial online for the acorn birdhouses. Drilling through acorns ain't no joke. Be ready to almost say cuss words. Almost.

We had tons of fun sculpting veggies for our garden. We've got potatoes, carrots, eggplant, pumpkins & lettuce.
Because ALL the things grow at ALL the same time in fairy land!
We spread out some sand on top of the potting soil to designate our vegetable garden area, & lined it with pebbles collected from the yard.

The hanging birdhouse was a gift. So sunny & yellow! And a great addition in helping to create different levels of height throughout our garden.

I think this is pretty much my favorite spot in the fairy gardens. It sits on the opposite side of the stairs as the other fairy houses just shown. This fairy door (store-bought) is nestled among some logs. You might not notice it at first glance. I made a walkway with twigs, & planted some more of that sedum on either side of the door.
So, that's it! For ALL the pictures of our fairy garden, click HERE to view our Fairy Garden Flickr album. There are even a few tour videos in there, saved from my Instagram Stories for you to take a peek at!
I hope this inspired you to get started on your own little fairy garden!
Toodles!
♥

This is awesome! I mean, incredible. Is that polymer clay? Will it hold up outside? You and your girls made a great fairy villlage. Can't wait to show this to my daughters. Thanks!!
ReplyDeleteA lot of the items are polymer clay. I am not sure if it will hold up outside---we'll have to wait & see. :) I'm sure if we had coated the clay items with a couple layers of some sort of sealant, that would've been better.
DeleteHow completely beautiful and inspiring! It's great to see your creative juices flowing!
ReplyDeleteThanks! I always wish I had more time for creating!
Delete