This is one of my favorite activities in the Crazy Crafty Christmas Countdown. My Tia friend & I came up with this idea while hanging out at a coffee shop one day. It was a fantastically spontaneous brainstorming session. I had my chai & my lists. She had her caffeine. We made up stories about the strangers around us. (I really should write a book about some of the tales we fabricate.) Anyway, then came about Operation: Snowflake.
"What in the world is Operation: Snowflake?" you ask.
Well, I like to describe it this way: Have you ever toilet papered someone's house? It's like that. But instead of secretly tossing rolls of toilet paper all over the trees of some person unaware, you use paper snowflakes.
It's much less vandalistic, & more in the spirit of "happy".
First things first: cutting out the snowflakes. I found the tutorial at the end of THIS post helpful, for making a 6-pointed snowflake. You see, I'm a snowflake-cutting newbie. But as soon as I got the basic fold down & cut out a few snowflakes, I had a crazy rhythm going & went wild. The girls & I cut out a total of 65 snowflakes, making up our own designs as we went along.
It was SO. MUCH. FUN.
BONUS IDEA:
Pre-fold a whole bunch of snowflake papers, toss them (& some scissors) in a bowl, & set the bowl on a table. Whoever has an inclination to snip here & cut there, can make a snowflake on a whim.
Fun, huh?
Here are just sixteen of the snowflakes we made. (It was such a giddy moment every time we opened a snowflake to see the final design. They are so much fun to look at. Lots of oohing & aahing went on. And every time we unfolded one, it was our new "favorite".)
Optional: Carefully iron each snowflake. It sounds annoying (because, hello, I rarely even iron my own CLOTHES) but it really does show off the snowflake to do this step.
Now, to make a simple little sign. After you have secretly decorated your friend's trees with snowflakes, you can hang this sign on the doorknob of their house.
(Just be careful & try not to get caught!)
I created a quick, no-frills, design on PicMonkey. (I set up a 5x7 DESIGN.) After saving the image to my computer, I opened up Microsoft Word. Select INSERT>PICTURE. After choosing the image you just made from whatever file you saved it in, it will appear on your blank Word document. Right-click on the picture. Select WRAP TEXT & then choose either IN FRONT OF TEXT or BEHIND TEXT, so that you can easily move the image around on the page. I copied & pasted the first image to create a second image, placing them side-by-side. (You can get two on one page.)
Print the signs & cut the paper in half.
Cut a circle at the top + add a slit for hanging on a door.
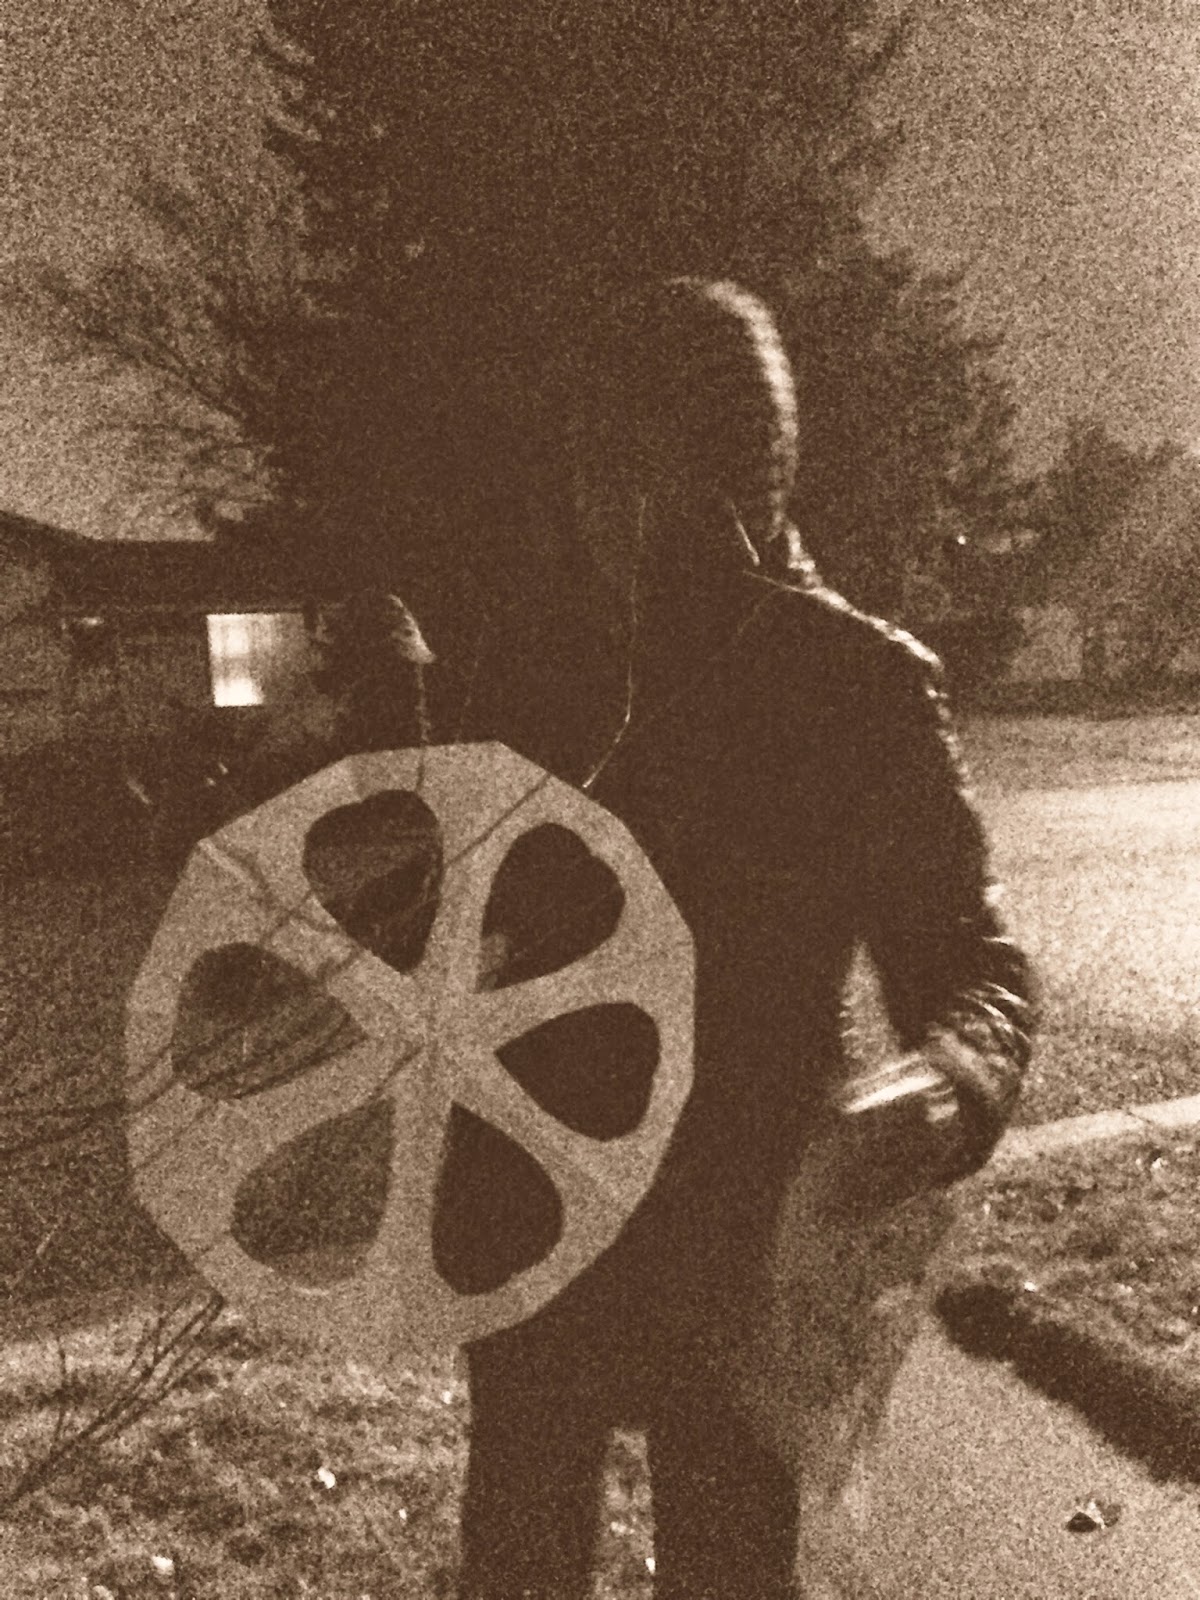
On the night of "Operation: Snowflake", my mother & 10-year old were my accomplices. We were all hooded & sneaky-like. The Mr. (who was sure we'd get caught by the dog) drove the getaway van.
There were two rules:
1. Be vewy quiet.
AND
2. If there's any chance you think we've been seen...RUN!
But we were so quiet, & it was such a rush when we accomplished our secret task without being caught!
You can just imagine all the high-fives on the drive back home.
I could not get any good photos of the "Flaking". Which is so sad. Because at night, it looked so magical when all the snowflakes hung from the trees. It really was so pretty!!
And then it rained late in the night. So the snowflakes got wet. And in the morning, when the surprise revealed itself, the snowflakes were soggy & saggy.
As an afterthought I should have just rung the doorbell & said, "Look what we just did!"
haha!
The next morning, after my friends guessed it was Team WhiMSy love who "flaked" their house, I stopped by for a visit. I asked them to fake a pose, as if they were seeing the snowflakes covering their trees for the first time.
They are hilarious.
They LOVED the surprise & we excitedly chatted on & on for the next several minutes about each side of our story in Operation: Snowflake.
This activity happened to be one of the girls' surprises in their Balloon Advent Calendar.
A random act of kindess, of sorts.
Now it's your turn. Crank up those holiday tunes, grab a stack of paper, & get to flaking!
♥
The Crazy Crafty Christmas Countdown is a D.I.Y. project every day from Black Friday through Christmas Eve.
So be sure to check back often!
Click HERE (or the logo on the sidebar) for a list of all the current Crazy Crafty Christmas Countdown posts.


My favorite by far!
ReplyDelete