Showing posts with label Christmas. Show all posts

Monday, December 29, 2014

Behind the Scenes: Crazy Crafty Christmas Countdown

I decided to do the Crazy Crafty Christmas Countdown (C4) because I have been living in a crafty dry spell for a very long time. I mean I craft, but not creative, get-in-the-zone, take-time-to-do-what-you-love kind of crafting. Doing this C4 series challenged me to craft, like, ALL THE TIME.
I HAD to craft. I promised you oodles of fantastic crafty things. (Twenty-seven projects worth!) And I couldn't let you down.
I also love Christmas. And making gifts has always been my favorite thing. I wanted you all to be inspired to make things too. So I concocted this crafty series for you.

What I didn't expect would happen is getting to travel on an amazing creative journey. I know everyone's creative process is different. But I thought, just for fun, I'd give you a peek into mine.

I started out having a head full of crafts that I wanted to make. That was the easy part. Lots of stuff was already up there in my noggin. I crafted, photographed, edited photos, blogged, & scheduled the first 10 projects. A lot of time went into each one of those posts you saw every morning.
A WHOLE STINKIN' LOT OF TIME.
But a cool thing transpired: One project inspired another, & another, & another. It became a whole ricochet of inventive productivity. It was so cool to be in the middle of the magic!

But then we moved. 
In the middle of all this craziness. 
ACK! 
Luckily, those 10 scheduled posts saved me. I had JUST enough time to pack & relocate & get a wee bit settled (not really). All the while the scheduled C4 posts went live each day on the blog. I had to quickly get back in the Crazy Crafty mode though.

It doesn't help me to FORCE creativity. Just sitting there, hoping a super deluxe concept would fall into my lap, doesn't work. So I decided to be proactive: I made lists. (I love lists.)

And my lists looked like this...
One column had a list of projects I wanted to make. Just general ideas like:
a garland
gift tags
food/dessert
gift wrap

Another column included a list of items I had in my crafty stash that I wanted to try to incorporate into a project:
contact paper
wooden spools
canning jar lids
champagne corks
oatmeal boxes
bubble gum capsules
clear vinyl

And a third column listed tools/devices I had that I wanted to use in the crafty process:
wood burning tool
computer scanner/printer
sewing machine

I often grabbed a cuppa tea, put on some music or a movie, & dumped all these items from my lists onto the floor in front of me. And then I would  stare. And touch. And squinch my eyes half shut, trying to picture it into something magnificent. And sometimes this worked.
I felt like an inventor.

And then I realized my lists were almost like those school classwork assignments I remember getting as a kid, where you draw a line from one item in the left column that related to an item in the right column. (Whether it was a math problem, or matching a word to its definition, etc.)
For example: Wood spools + a wood burning tool = DUH!

The creative mess was always constant. In the morning I'd take over the dining table. Ok, I took over the dining ROOM. And then every night I'd shove the mess in a corner so we could all eat. And then I'd start again the next day, setting up my crafty supplies until dinner. I am grateful for my patient family who put up with the consistent whirlwind of disarray & clutter.

The deadline of each morning's crafty post DID require me to have to come up with new projects every day. And though I did panic at times, I always knew that something would eventually come together. And it always did. I just waited. And trusted the process.
I loved living in a perpetually creative world this last month. My mind was always tinkering with the most recently contrived design skipping about in my brain.
My goal was to bring you original ideas. I am so proud of the results. (And I am also lucky to have two creative little girls who helped with a couple ideas as well.)

My crafty passion was fed in a big way. And I thank you for all your kind emails & messages & comments. I loved hearing how many of you couldn't wait to open your inbox every day, to see the latest project in the Crazy Crafty Christmas Countdown. Some of your notes even made me teary-eyed! (Aw, shucks.)
Thanks for visiting & pinning & sharing & tweeting & commenting!

Doing this crafty countdown got me all excited for the coming new year, & making time for the things I'm passionate about. As is evidenced by this recent crafty endeavor: when I actually made time for the things I love doing, I got to go on a fun creative adventure!

Wednesday, December 24, 2014

DIY: Scanned Sprinkle Gift Tags

I cannot believe it. This is the last project in the Crazy Crafty Christmas Countdown! It's been a crazy ride for me. Not gonna lie. I'm looking forward to taking a break & taking it easy with my family on Christmas, & I hope you are too. But in case you have some last minute gifts to wrap, I think today's project could be a fun addition.

Here's what you'll need...


Clean up the printer with a vacuum (+ a soft brush attachment).


Thanks so much for all your kind words during this crafty edition! It thrills me to no end that many of you anticipated with excitement each day's project. It was fun for me to surprise you every day. And this endeavor really motivated the crafty passion in me. I will have a follow-up blog post coming soon about some things I learned along the way....& reveal the truth behind the craziness.
Merry Christmas to you all!


The Crazy Crafty Christmas Countdown is a D.I.Y. project every day from Black Friday through Christmas Eve.
So be sure to check back often!
Click HERE (or the logo on the sidebar) for a list of all the current Crazy Crafty Christmas Countdown posts.

Tuesday, December 23, 2014

DIY: Reindeer Jar

The 10-year old is the maker of today's DIY. Not only do I think her idea is pretty fantastic, but it's perfect for that last-minute gift. Jar gifts are always a hit, in my opinion. Fill a jar with a cookie mix, a soup mix, a brownie mix. Or fill it with home-baked treats. (In my case, I've filled it with salted caramel popcorn. A new favorite recipe that is oh-so-crunchy & simply addictive. Click HERE for the pin.) And then embellish your jar with this adorable reindeer, which goes together in minutes. To say I am in love with this project is a supreme understatement. 

For this project you'll need:
• a jar
• 4 pipe cleaners
• 2 giant googly eyes
• a pom-pom (red or black)
• a marker
• a hot glue gun

Now, you can google "How to make reindeer antlers from pipe cleaners" if you want. But Pazely's antlers are the cutest in the all the land. It's your choice. 
Follow these steps to make your own reindeer jar...


Once your antlers are complete, affix it to the lid as follows:


The Crazy Crafty Christmas Countdown is a D.I.Y. project every day from Black Friday through Christmas Eve.
So be sure to check back often!
Click HERE (or the logo on the sidebar) for a list of all the current Crazy Crafty Christmas Countdown posts.

Monday, December 22, 2014

DIY: Cookie Garland

I have been trying to think of a crafty purpose for all the used jar lids I have lying around. A garland seemed the perfect project.  And circles pretty much = cookies. So it all worked out. 
Zoey says the felt I chose for the cookies is too dark. But it's all I had. Plus, when I bake cookies in real life, they come out of the oven in shades of dark. So it's all good.

Make the garland as long as you'd like, of course. In this tutorial, I made 6 cookies, strung onto a 5-foot piece of yarn. 
Here's a complete list of the items you'll need to get started...


The Crazy Crafty Christmas Countdown is a D.I.Y. project every day from Black Friday through Christmas Eve.
So be sure to check back often!
Click HERE (or the logo on the sidebar) for a list of all the current Crazy Crafty Christmas Countdown posts.

Sunday, December 21, 2014

Want • Need • Wear • Read//Wood Burned Clothespin Tags

Six years ago I purchased some awesome wooden tags to commemorate my first go at the Want/Need/Wear/Read gift plan. They are laser printed tags, reusable every year, & I love them.

Have you heard of Want/Need/Wear/Read? It's basically a way to simplify gift giving to your children. Give them something they WANT, something they NEED, something to WEAR, & something to READ.
Four gifts.
That's it.
And it has changed our Christmases forever.

Like I said, we've been doing this for six years. At first, I was afraid the girls would be upset. But they weren't. Of course there was the initial shock & dumbfounded look in their eyes. But that quickly wore off. And now the girls really like it. It makes shopping more fun & meaningful. And I never find myself falling into the trap anymore of having to buy one more gift for so-&-so to even out the score.

Anyway, I have had TONS of people ask where to get those tags. Unfortunately the seller no longer makes them.
When I had my wood-burning tool out the other day, crafting up the spool ornaments, a clothespin fell in front of me as I was digging around in my craft supplies. And that's when today's project idea popped into my head.
(Oh my gosh. I love when stuff falls & things pop.)

The supplies are simple: a wood burning tool (which I purchased for about $15) & some wooden clothespins.
Before you attempt to burn the clothespins, practice using the wood burning tool on a scrap piece of wood. If you want, write out the words with a pencil, before burning.
HERE is a helpful little video about wood burning.

You can, of course, personalize the clothespins with names of your family or friends.


Clip the clothespins onto the appropriate gifts, & you're done!


The Crazy Crafty Christmas Countdown is a D.I.Y. project every day from Black Friday through Christmas Eve.
So be sure to check back often!
Click HERE (or the logo on the sidebar) for a list of all the current Crazy Crafty Christmas Countdown posts.

Saturday, December 20, 2014

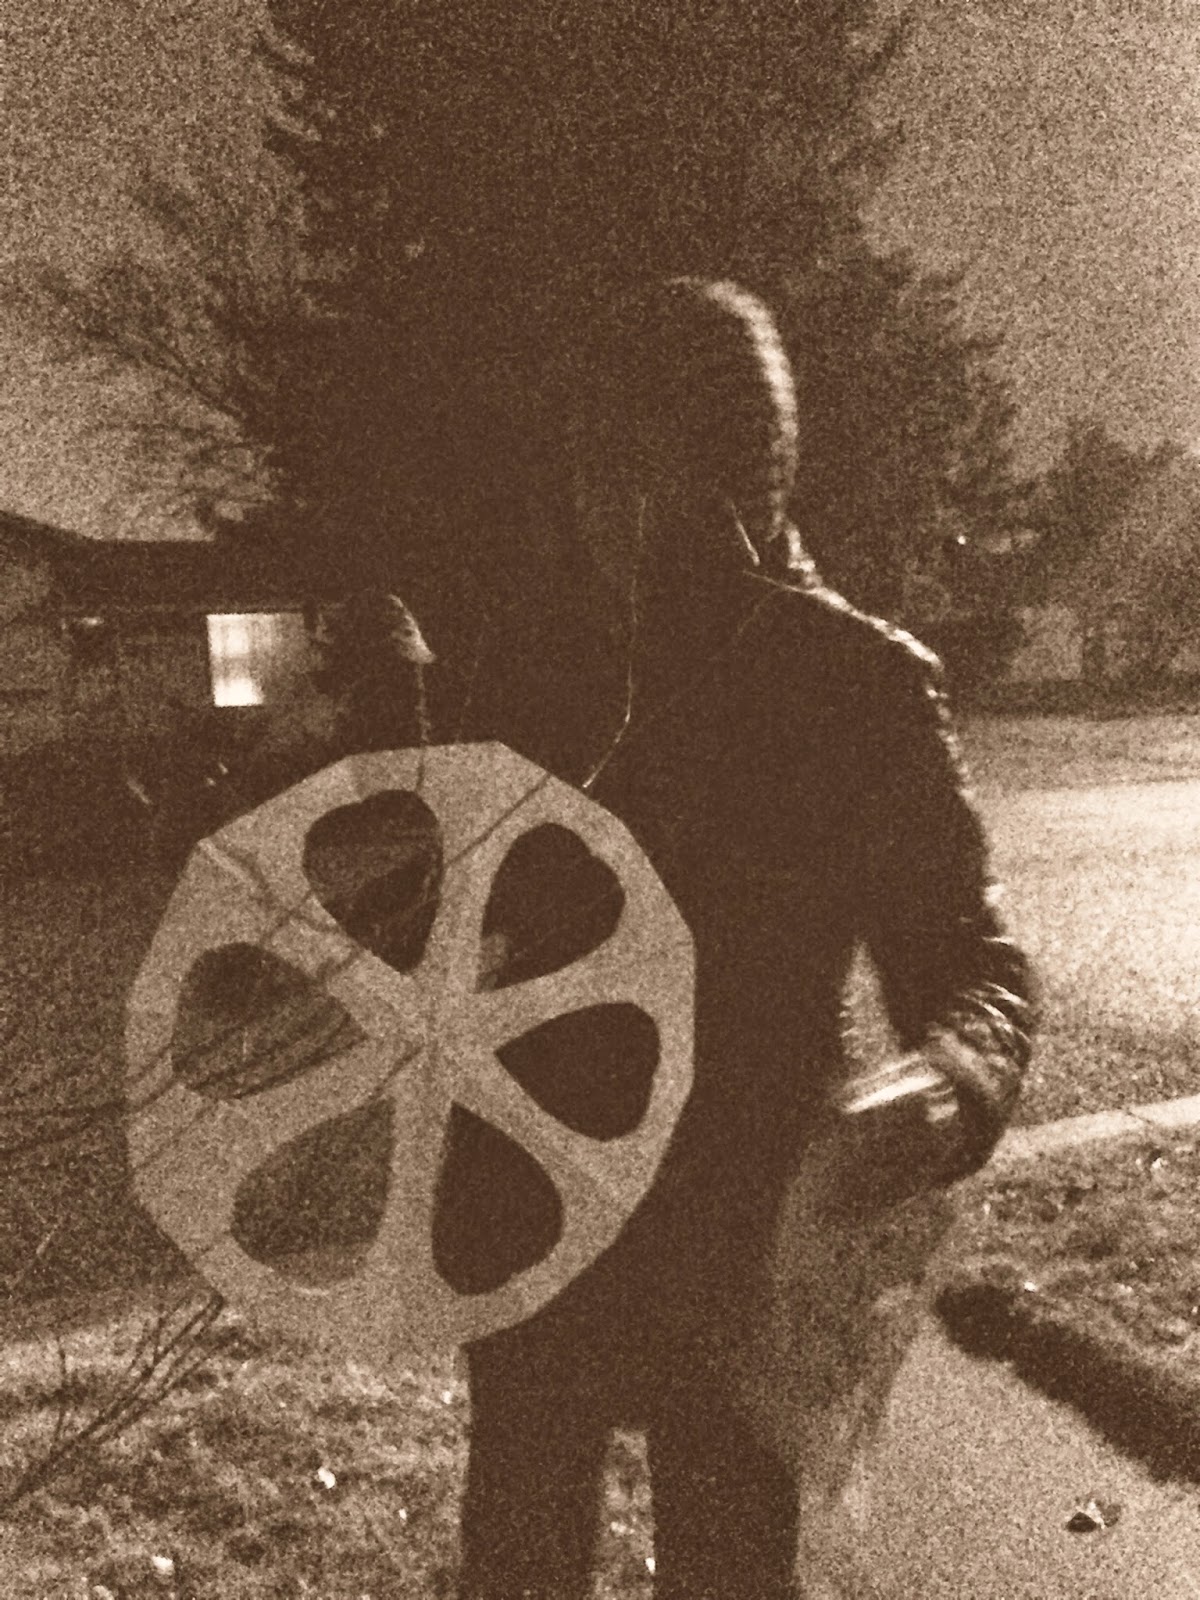
Operation: Snowflake

This is one of my favorite activities in the Crazy Crafty Christmas Countdown. My Tia friend & I came up with this idea while hanging out at a coffee shop one day. It was a fantastically spontaneous brainstorming session. I had my chai & my lists. She had her caffeine. We made up stories about the strangers around us. (I really should write a book about some of the tales we fabricate.) Anyway, then came about Operation: Snowflake.

"What in the world is Operation: Snowflake?" you ask.
Well, I like to describe it this way: Have you ever toilet papered someone's house? It's like that. But instead of secretly tossing rolls of toilet paper all over the trees of some person unaware, you use paper snowflakes. 
It's much less vandalistic, & more in the spirit of "happy".

First things first: cutting out the snowflakes. I found the tutorial at the end of THIS post helpful, for making a 6-pointed snowflake. You see, I'm a snowflake-cutting newbie. But as soon as I got the basic fold down & cut out a few snowflakes, I had a crazy rhythm going & went wild. The girls & I cut out a total of 65 snowflakes, making up our own designs as we went along. 
It was SO. MUCH. FUN. 

BONUS IDEA: 
Pre-fold a whole bunch of snowflake papers, toss them (& some scissors) in a bowl, & set the bowl on a table. Whoever has an inclination to snip here & cut there, can make a snowflake on a whim. 
Fun, huh?

Here are just sixteen of the snowflakes we made. (It was such a giddy moment every time we opened a snowflake to see the final design. They are so much fun to look at. Lots of oohing & aahing went on. And every time we unfolded one, it was our new "favorite".)
Optional: Carefully iron each snowflake. It sounds annoying (because, hello, I rarely even iron my own CLOTHES) but it really does show off the snowflake to do this step.


Now, to make a simple little sign. After you have secretly decorated your friend's trees with snowflakes, you can hang this sign on the doorknob of their house. 
(Just be careful & try not to get caught!)

I created a quick, no-frills, design on PicMonkey. (I set up a 5x7 DESIGN.) After saving the image to my computer, I opened up Microsoft Word. Select INSERT>PICTURE. After choosing the image you just made from whatever file you saved it in, it will appear on your blank Word document. Right-click on the picture. Select WRAP TEXT & then choose either IN FRONT OF TEXT or BEHIND TEXT, so that you can easily move the image around on the page. I copied & pasted the first image to create a second image, placing them side-by-side. (You can get two on one page.)

Print the signs & cut the paper in half. 
Cut a circle at the top + add a slit for hanging on a door.

On the night of "Operation: Snowflake", my mother & 10-year old were my accomplices. We were all hooded & sneaky-like. The Mr. (who was sure we'd get caught by the dog) drove the getaway van. 
There were two rules: 
1. Be vewy quiet. 
AND 
2. If there's any chance you think we've been seen...RUN! 
But we were so quiet, & it was such a rush when we accomplished our secret task without being caught! 
You can just imagine all the high-fives on the drive back home.

I could not get any good photos of the "Flaking". Which is so sad. Because at night, it looked so magical when all the snowflakes hung from the trees. It really was so pretty!! 
And then it rained late in the night. So the snowflakes got wet. And in the morning, when the surprise revealed itself, the snowflakes were soggy & saggy. 
As an afterthought I should have just rung the doorbell & said, "Look what we just did!"
haha!


The next morning, after my friends guessed it was Team WhiMSy love who "flaked" their house, I stopped by for a visit. I asked them to fake a pose, as if they were seeing the snowflakes covering their trees for the first time. 
They are hilarious.
They LOVED the surprise & we excitedly chatted on & on for the next several minutes about each side of our story in Operation: Snowflake. 


This activity happened to be one of  the girls' surprises in their Balloon Advent Calendar.
A random act of kindess, of sorts. 
Now it's your turn. Crank up those holiday tunes, grab a stack of paper, & get to flaking!


The Crazy Crafty Christmas Countdown is a D.I.Y. project every day from Black Friday through Christmas Eve.
So be sure to check back often!
Click HERE (or the logo on the sidebar) for a list of all the current Crazy Crafty Christmas Countdown posts.