Showing posts with label recycle. Show all posts

Tuesday, May 28, 2013

DIY: Mini Memory Matching Game

As I'm packing up boxes, getting ready for the upcoming move (in 3 weeks!), it's giving me a chance to downsize/purge/donate/trash a lot of things. I'd like to think that in these last 3 1/2 years, through 3 moves, the amount of things & stuff I own has decreased significantly.

Anyway, in all my shuffling about through cupboards & shelves & drawers, I came across 3 Scrabble games. Three! I once used the tiles for crafty ring making in the past.
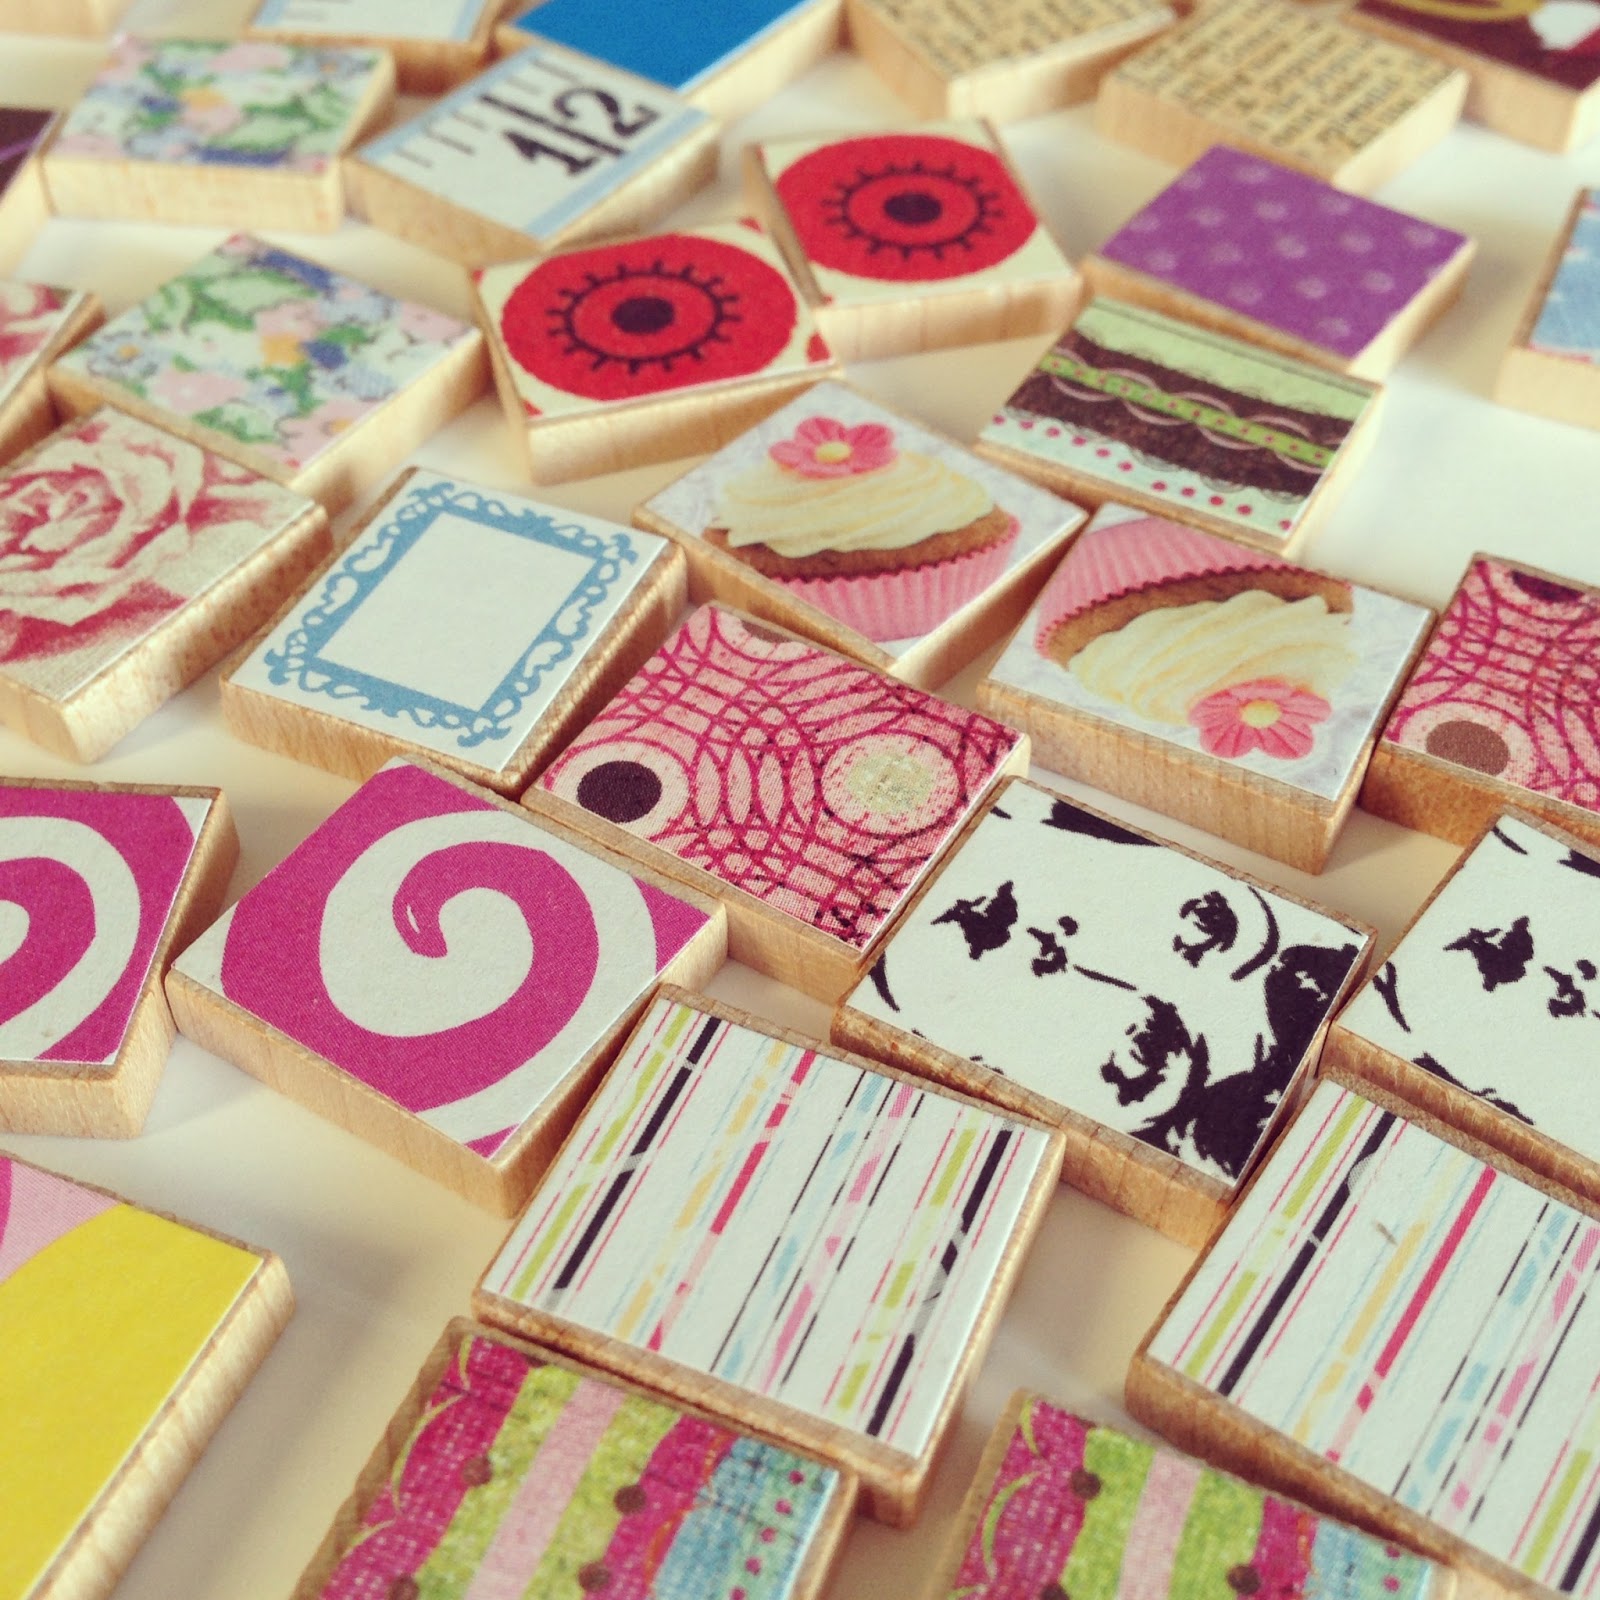
I was able to piece together 2 complete games--one for donation & one to keep. With the leftover tiles I decided to make an easy Matching Game. Perfect for travel. More specifically, perfect for airplane rides or long 3+ hour layovers in the Denver airport. Which will be the story of Zoey, Pazely & I in a few weeks.
This is one of the girls & my favorite games to play!

To make your own, you'll need:
•scrabble tiles (The more tiles you have, the more challenging the game. I ended up with 23 pair of tiles.)
•pencil
•ruler
•scissors (or paper cutter)
•Mod Podge
•small paint brush
•scrapbook paper (Find as many different styles/patterns of scrapbook papers as you have pairs of tiles.)

First you'll want to cut your papers. I cut the paper rectangles small enough so that they fit just inside the tile, without any extra stuff hanging off the edges. In fact, I measured & cut out one piece of paper & then used that paper as a template to cut the rest. 

Apply Mod Podge to the back of the paper. 
Place the paper piece onto the letter side of the tile & press firmly in place, being sure to get the edges secure.

Once that is dry, apply one or two more coats of Mod Podge.

When THAT is dry, play away!

♥

Thursday, April 22, 2010

3 Projects. From 1 Magazine.

In honor of Earth Day & the subject of recycling, here are 3 easy & fun projects I think you'll enjoy!

1. Magazine Brooch.
Simply cut about 15-20 organic circular shapes ("organic" means it doesn't have to be perfect) from a magazine & crumple them up. (This is to give it extra thickness.) You can get fancy with the top cirlce shape by creating a fan-shape with a strip of paper & connecting the ends. Stack your circle pieces & staple together, along with ribbons hanging at desired lengths on the back. Glue buttons in the center. Glue a pin on the back. Wear with recycled pride!!


2. Gift Bows.
I got the tutorial from How About Orange. LOVE it! I will never buy a gift bow again.


3. Candle Props.
Tear out pages from a magazine. Roll into long tubes, using a glue stick to finish. Once you've made lots & lots, cut tubes to desired length. I used about 2" lengths to create these tea-light props. But you can use any length you want. Use tacky glue to hold them all together. A glue gun works too.
I also created a GIANT one (inspired by an Anthropolgie store display I saw about 10 years ago) that serves as some funky decor. (I even used it once to hold a small TV!)
Use your imagination & come up with some fun ways to use them!


Here's a peek at the last Crafty Night in April, where I taught all 3 of these projects.
 

♥

Happy Earth Day!

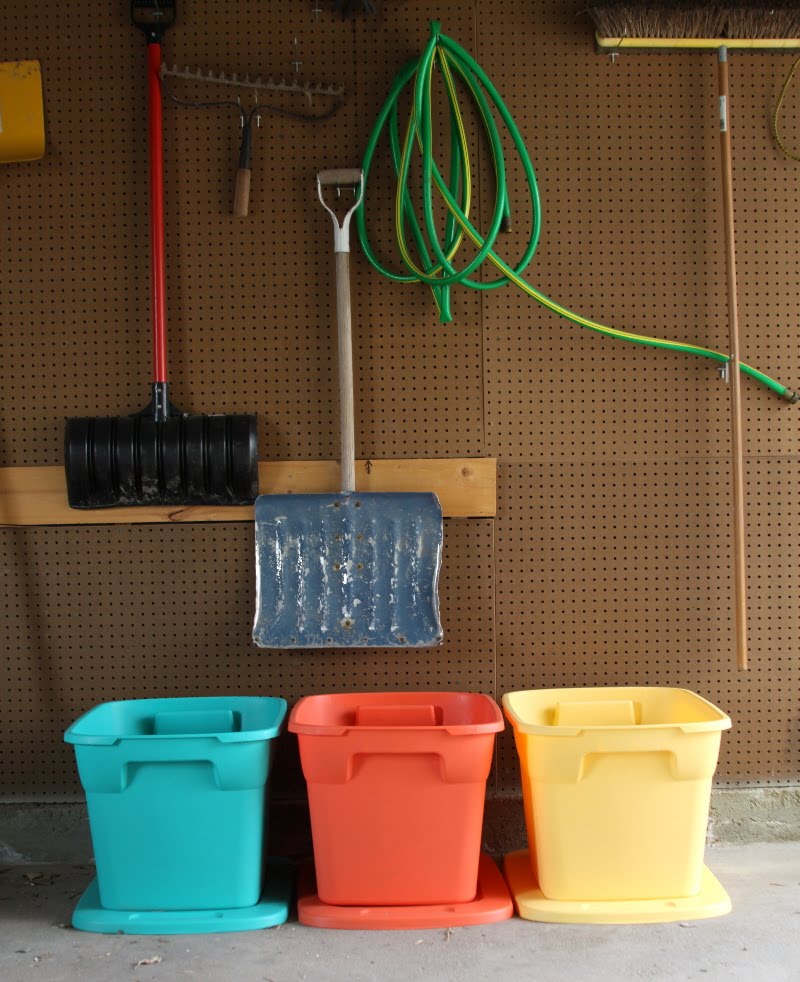
The girls & I have decided to start recycling. And what better inspiration than Earth Day? This is a new venture for us. We've already made the first step: buying some bins to keep in the garage to separate our materials. Pop cans. Newspaper. Plastic. (Less than $5 each at Walmart!)  In less than 2 weeks the "plastic" bin is half full. And we've got plans to make our first trip to the local library this week & borrow books on the subject.

{Later this evening I'll reveal the recycled projects I taught at this month's Crafty Night--made from magazines.}
♥