This is a super quick post. But I suddenly had a clever little display idea for my holiday bazaar coming up this Friday & Saturday. I thought it'd be fun to have a bunch of black-n-white pics of kid's on Santa's lap just scattered around my table. I've got the most adorable one of my mom & sister when they were about 5 years old & then there's one of me, crying like a baby---at the age of 10. So, what have you got for me??? I'd love to print out your pics, with your permission, & display them on my table just for fun & chuckles. (I'll make 'em black-n-white if they're colored.) So, leave me a link to a picture on your flick account or email me a picture of you on Santa's lap or with Santa. (**email addy in sidebar on right.) I'm hoping it works out how I have pictured in my head. And, unfortunately I won't be able to use everyone's photos. I'll pic my favorites & reveal the chosen few before my show sometime next week.
OH! OH! (Hey, that's "HO HO" backwards. Hm.) I've got THE CUTEST advent calender idea but I'm scrambling to get all the bits made & put together & photographed & all that stuff for a tutorial. I know the usual advent stuff starts tomorrow, so I'm hoping to get it up late tomorrow. You're gonna love it. I promise!!
Hope you had a great Thanksgiving weekend!
Gotta go. I'm in a hurry for a giftie exchange thingie, with a "Kitchen" theme. Guess what I included?? A fork easel. Clever, I know.
**And don't forget the Cyber Monday Sale is going on today! BUY ONE GET ONE 50% off the WhOlE shop!!!

 I had a wonderful Thanksgiving at my parent's & grandmother's house. There were 18 total humans gathered--including kidlets. The food was so yummy. And my twice baked potatoes turned out really good. I didn't go all gourmet on 'em, but just added sour cream, butter, salt, pepper, parsley & garlic powder. They were tasty. My favorite Thanksgiving food item is always sweet potatoes though. Love 'em!


 It's so fun to unpack the decorations. My girls really got into it this year. And I sat back (& took photos) while they plastered the tree (mostly in the mid-section) with all the ornaments. Christmas tunes in the background...the tea kettle whistling our attention for hot cocoa...the smell of a faux pink Christmas tree in the air....what a perfect day!
 I love Christmas so much & I'm excited to finally get to say "Happy Holidays!!!!!" Hope you all are enjoying a relaxing weekend!


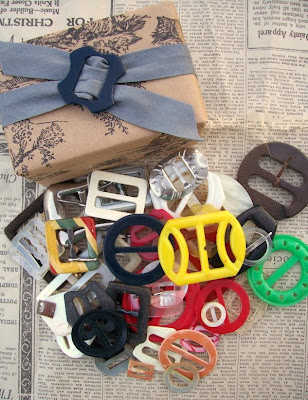
 Speaking of my upcoming Holiday Bazaar....I was recently surprised to receive a lovely gift from my blog buddy


 I used some plastic cording stuff that I recycled from an older luggage tag---but you can also use those rubber/plastic bracelets that are really bendable & flexible that look exactly like my cording piece.


 Our original plan for rescue failed, so we had to run across the street for a payphone. I had to borrow a quarter from a waitress to use the payphone. How pathetic was that? I was so ill-prepared for this day. I did remember to bring my camera though!!! Do you know how many people stare at you when you're trying to take a picture with a payphone? Lots. Eventually the tow truck came.