
Zoey wanted in on the bug catcher action, so today she made this!
These necklaces could also hold tiny treasures.
See tutorial HERE.

 ♥
♥ ♥
♥ **THIS PROJECT WAS FEATURED IN THE 2012 JUNE/JULY ISSUE OF FAMILY FUN MAGAZINE!!**


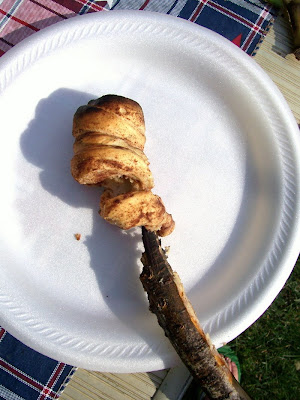
 We ate these one morning while camping last weekend. And I give credit for the idea to my friend Tia.




 Zoey & I drew a cow. It looks like she even put a bucket under the cow for the milkin'. haha!
 I've also done this project at parties, but you put a paper plate on your head (more sturdy) & draw. That way you know there are no cheaters. Plus it looks funny & everyone can get a good laugh.
  Last night I decided to fix some BLT's for din-din. (Ok, they were BLAT's. I added avocado.) While the bacon was sizzling I had a fun idea! I love getting those fancy fringed sandwich toothpicks when I order up a tasty sammie at a restaurant or deli. (It's the simple things that make me giddy.) So, I decided to make up my own version of them.
 My old-school Dymo label maker was all I needed! Make 2 labels & stick 'em back-to-back, with the toothpick in-between.
  If you don't have a label maker in your crafty stash, you can create a similar look by simply stamping letters/words onto circle dot stickers. Again, adhere 2 stickers back-to-back.
 Here are a couple other versions I came up with:
 You can totally personalize these for baby showers, weddings, birthdays, etc.
 I really could have gone crazy making silly sandwich toothpicks. But I found out that doing this during the prime hours of tummy grumbling is not such a good idea.
 ♥
♥ Here's a fun little project to dress up your wall outlets. A little spot of creativeness in an unexpected place!
 After you've mapped out your design, paint the back & sides of your wood piece. Oh, about the wood pieces: I got mine at a craft store (like Michael's) & they come in all sorts of shapes: flowers, butterflies, circles, rectangles, ovals, animals, etc. And, they're only about 25cents each! (I like using the rectangle shape the best because it covers both wall plugs.)


 I do not recommend these be used if you have small children. Attaching the plugs to the wood pieces actually makes it easier for small hands to pull out of the wall outelts.


